| |
Home
Geocaching
Contact
Us
Disclosure
Privacy
Policy
|
|
Parts I used to build this
geocache:
|
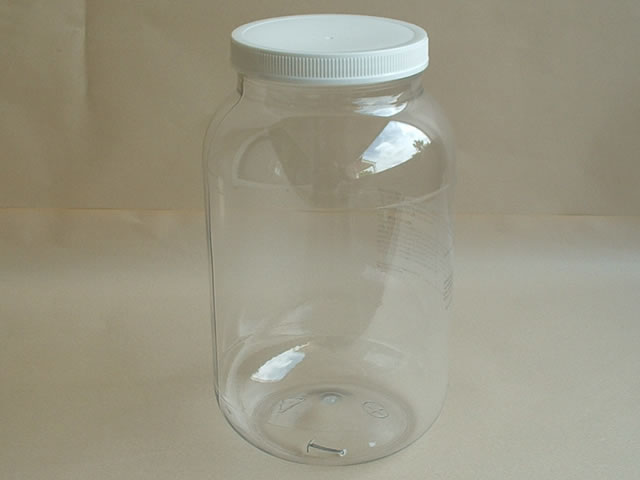
1 gallon plastic
jar. The opening is 4" and is approximately 10 " tall. |
|
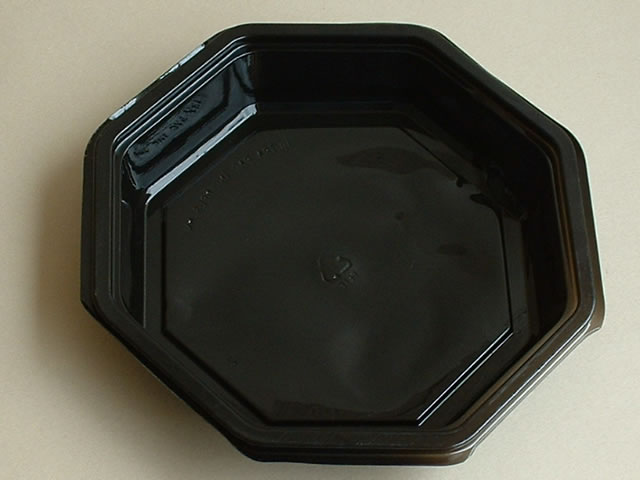
Plastic tray. This
is the bottom half of a plastic container that food came in
from the grocery store. I cut off the top half of the tray (which
will be used to build another geocache) and cleaned it out.
This tray will be used as a recess for the lid of the jar. When
the geocache is sitting on the ground, the jar will be upside
down, and this will keep the lid off the ground. Better shown
in pictures below. |
|
Another view of
the plastic tray. |
|
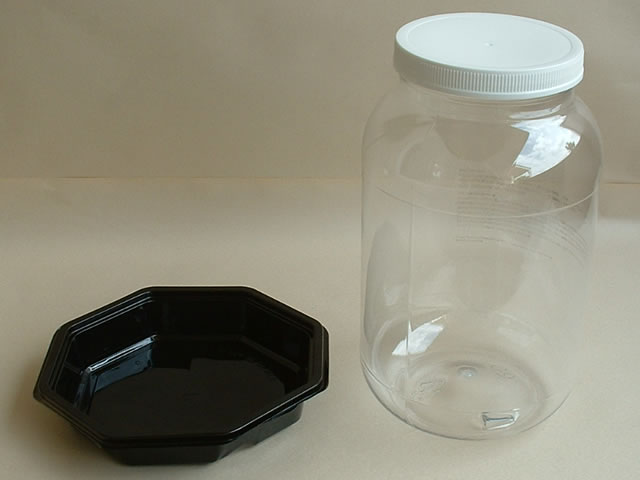
Plastic jar and
plastic tray together. |
|
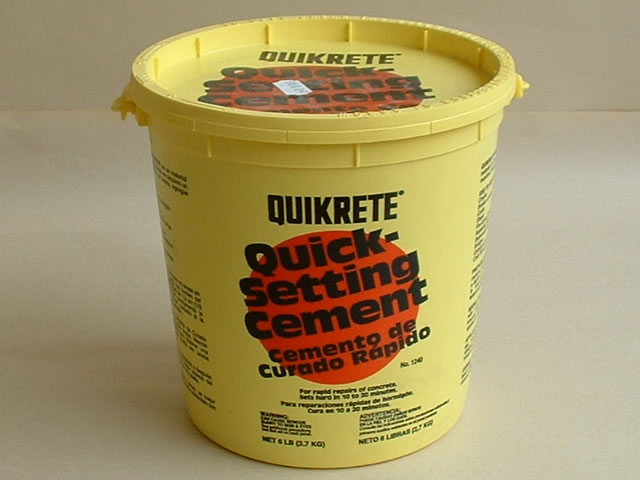
6 pound bucket of
quick setting concrete. I wanted to add ballast to this geocache
as it would be in a windy place. For the geocaches that I will
leave in protected areas, such as in the mountains, I will not
add concrete ballast. |
|
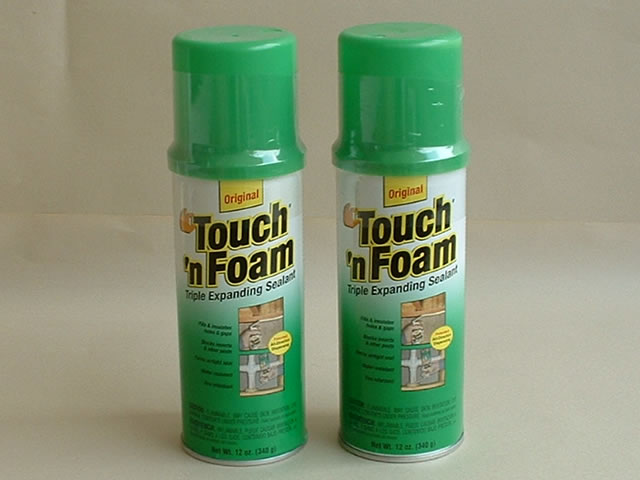
Expando foam. To
add bulk to the geocache rock, I sprayed on expando foam as
filler. |
| |
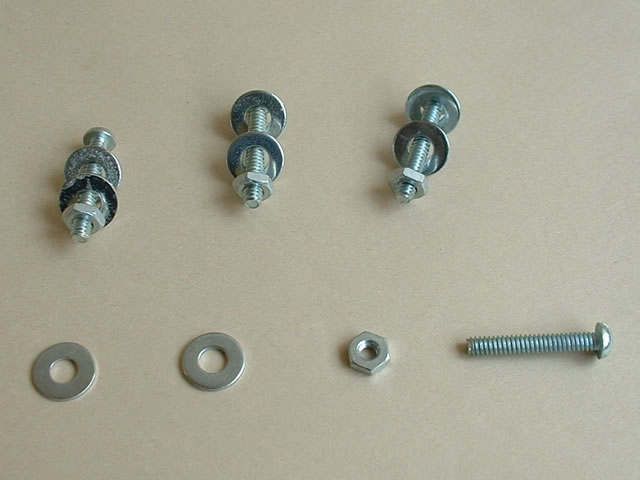
Hardware. Any size
will do, but I used (4) 10-24 bolts 1-1/4 inches long with 2
washers and hex nut on each. The purpose of the hardware is
to help anchor the ballast or the expando foam to the jar. This
step is no doubt overkill and not necessary, but I like the
added assurance that the jar will not pull out of the core. |
|
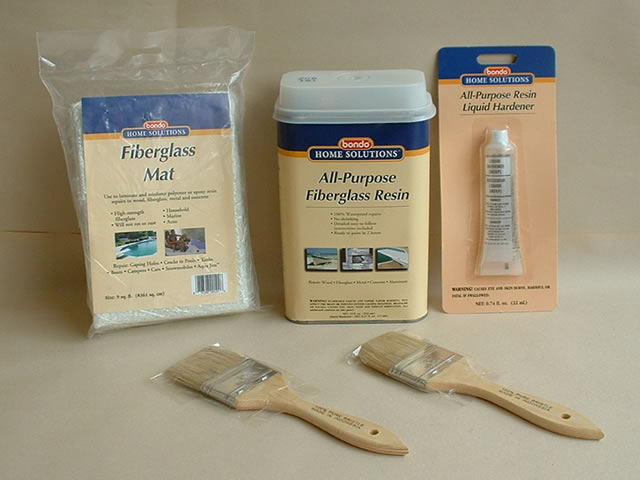
Fiberglass skin.
To protect the expando foam, I use fiberglass as the outside
skin. Shown is the fiberglass mat, fiberglass resin and hardener,
and cheap throw away brushes to paint on the fiberglass resin. |
|
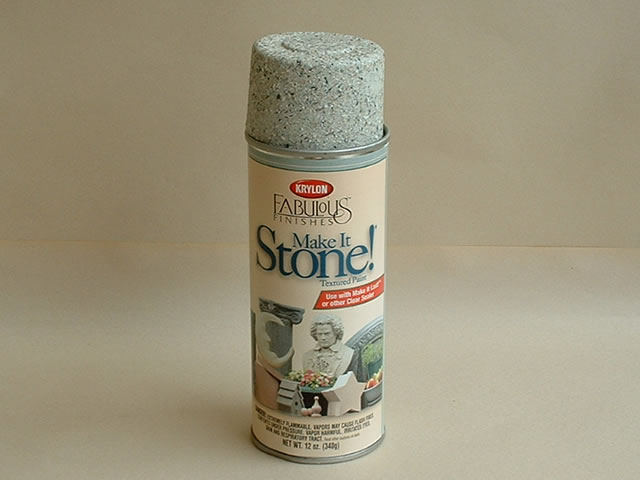
Fleckstone paint.
This spray paint does not spray on in a single color, but is
speckled. It has the appearance of marbled rock. It comes in
various colors and is perfect to give the appearance of natural
stone. It can be found in hobby stores or hardware stores. |
|
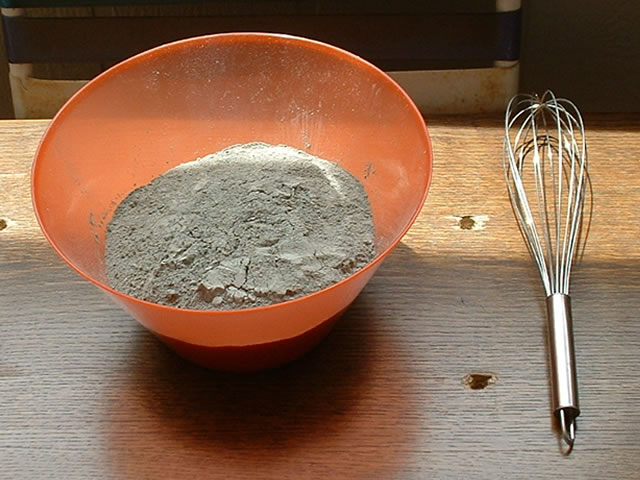
Concrete mixing
bowl and whisk. I mix the concrete in this bowl and use the
whisk to help stir the concrete mix. It has a wide opening and
is easy to mix the concrete. Not necessary if concrete ballast
is not being used. |
|
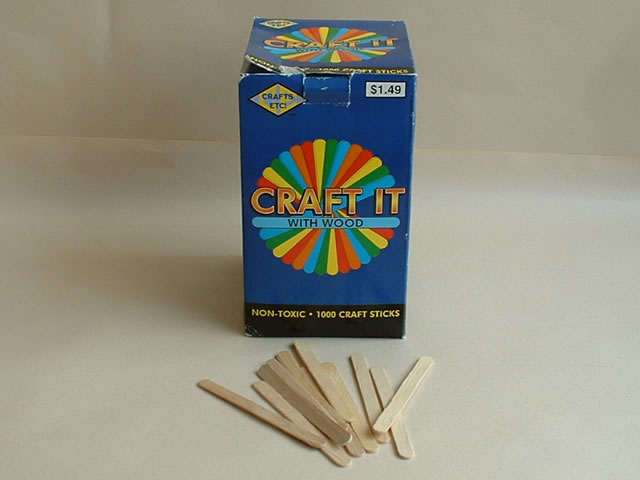
Popsicle sticks.
I use these to mix the fiberglass resin and hardener. I also
used them as anchors to hold the expando foam to the concrete.
|
|
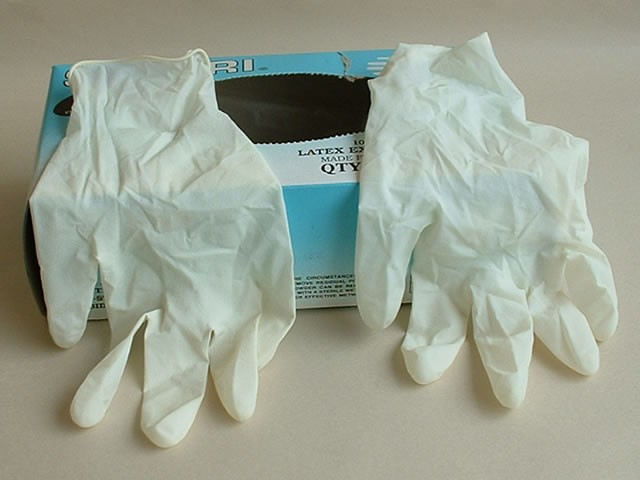
Latex gloves. When
applying the concrete mix to the jar and when working with the
fiberglass mat and hardener, a must to protect the hands.
Harbor
Freight is an excellent source for these. I bought
a box of 100 for under 7 bucks. |
Building the concrete
base.
|
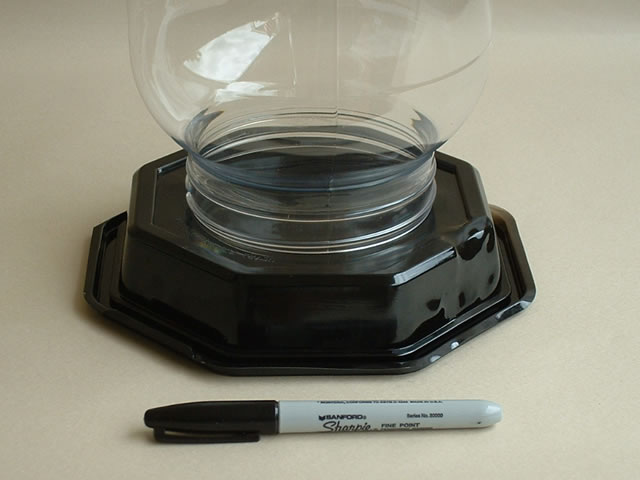
I set the jar on
top of the plastic tray and drew a circle the size of the opening.
Even though I used a black marker on the black tray, I was able
to see the outline no problem. |
|
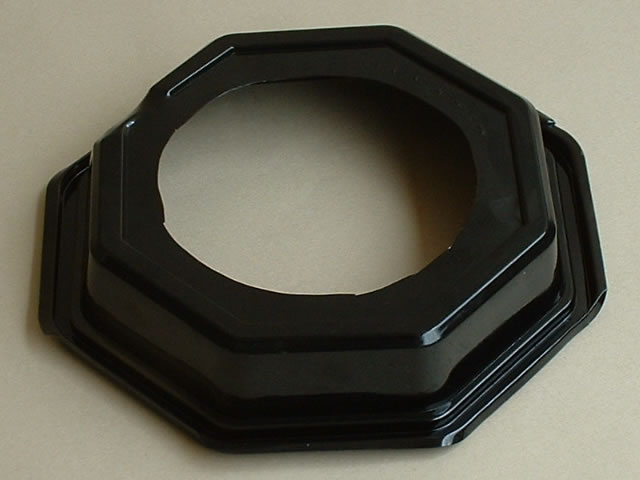
Here is the opening
cut out. The jar will fit down into this hole. |
|
Jar set down into
the hole. The purpose of the tray is to leave a recess that
the jar lid will set into. This allows the lid to be removed
and to have the lid not sitting directly on the ground. This
will become more evident further on. |
|
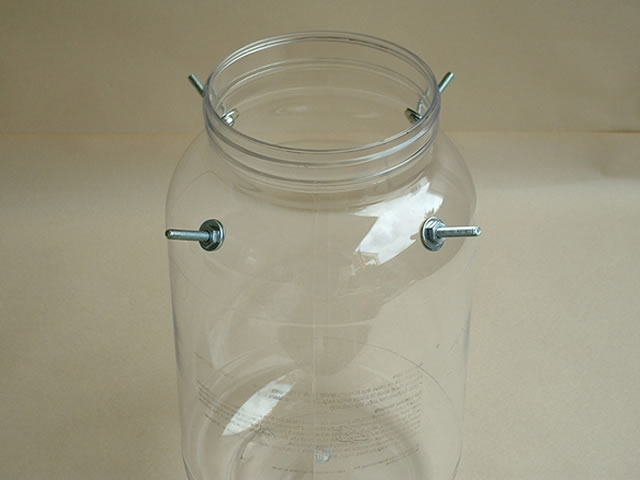
I drilled 4 holes
into the jar and installed the bolts. The bolts will act as
an anchor to hold the concrete secure to the jar. Even if the
concrete ballast is not used, the bolts will help secure the
expando foam to the jar. Probably not necessary, but I like
the added assurance that the jar will be securely held in place. |
|
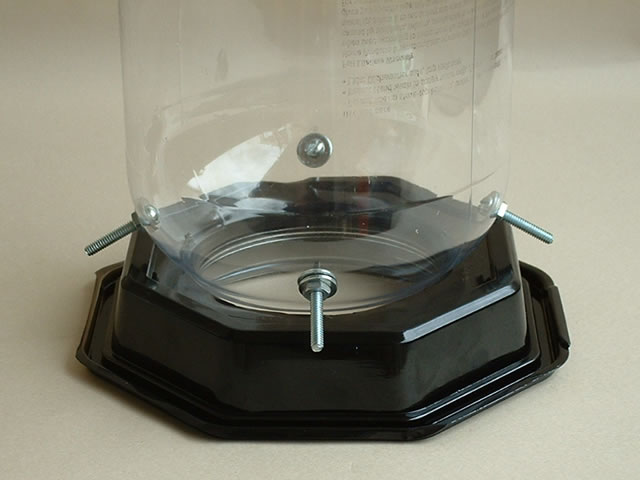
Jar with bolt anchors
set into the plastic tray. The jar is just a friction fit into
the tray. I did not epoxy the jar to the tray, though that certainly
wouldn't hurt. |
|
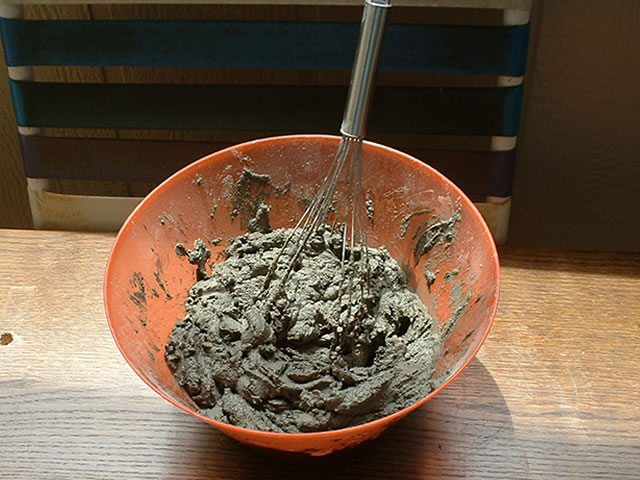
Concrete mixed up
and ready to apply to the jar. The consistency is a bit on the
thick side. I want to be able to mold it around the jar and
have it hold it's position while curing. |
| |
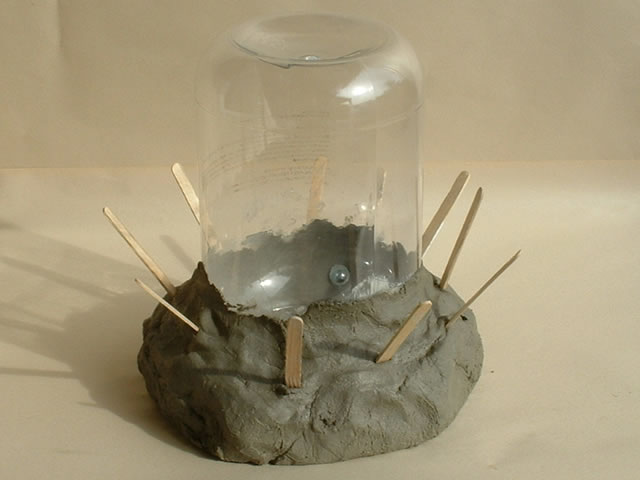
Here the concrete
has been molded around the jar and the plastic tray. The bolt
anchors are firmly embedded into the concrete. The popsicle
stick have been stuck in at an angle to help secure the expando
foam to the concrete and to the jar. I let the concrete cure
for 24 hours before going to the next step. |
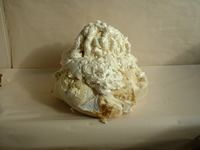 |
I then cover the
jar with expando foam and let it cure overnight. This helps
to give a rock-like look to it. |
 |
I then cover the
foam with fiberglass mesh and resin. This helps to fill in the
voids and give a smoother, more natural look. Be sure to wear
gloves when working with the fiberglass resin. |
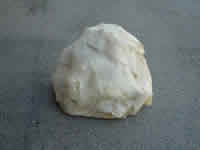 |
Spray on a coat
of fleck paint, using the color of the rocks local to where
the geocache will be placed. Here is the final geocache ready
to be hid. |
Here are some other geocaches
I have built. Some
of the techniques differ slightly then shown above.
 |
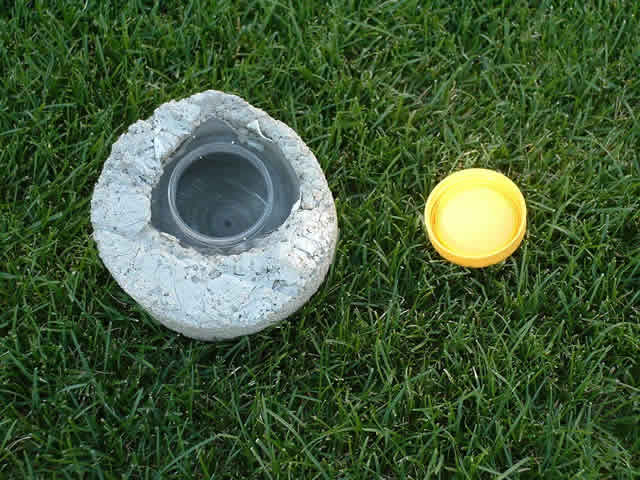
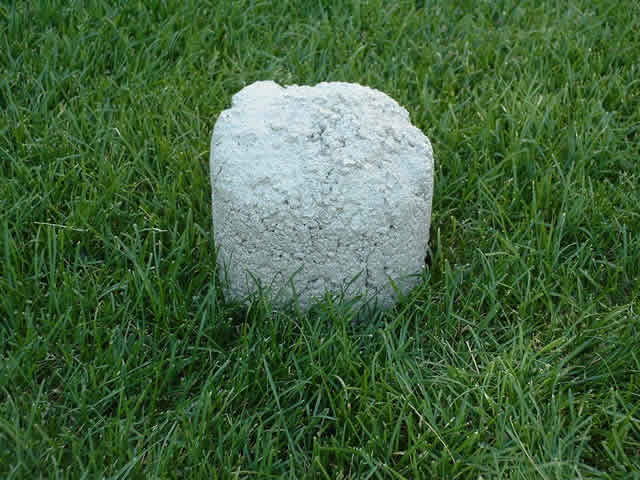
The next 3 pics
are of the same geocache. I did not use expando foam for a core
on this one. The container was small enough that I simply covered
the entire jar with concrete. |
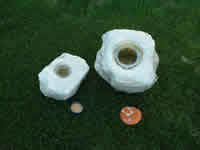 |
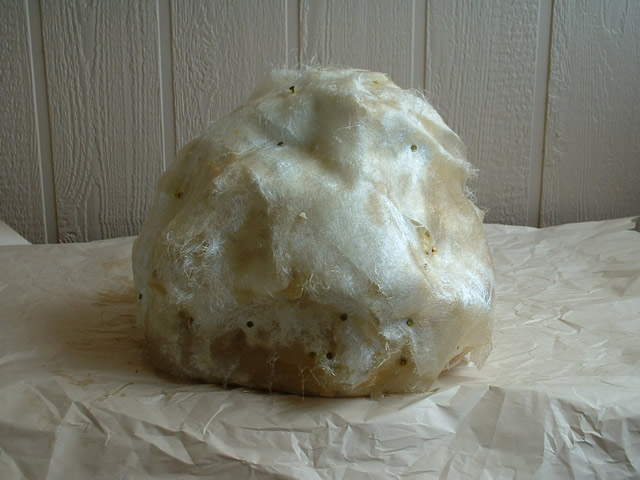
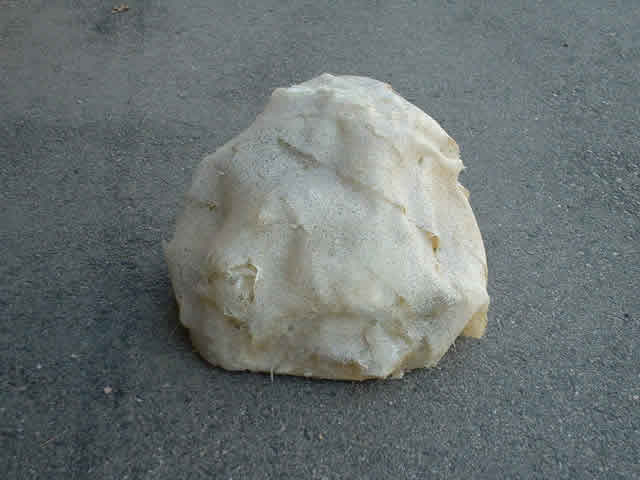
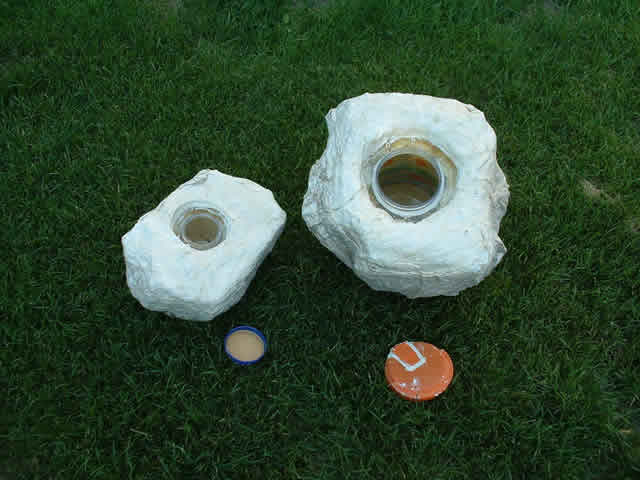
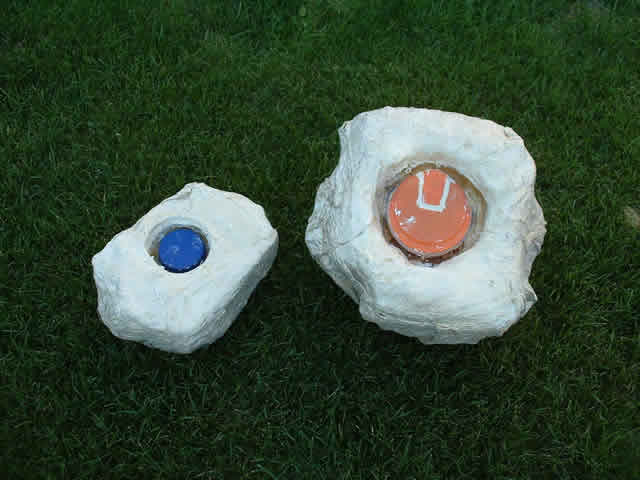
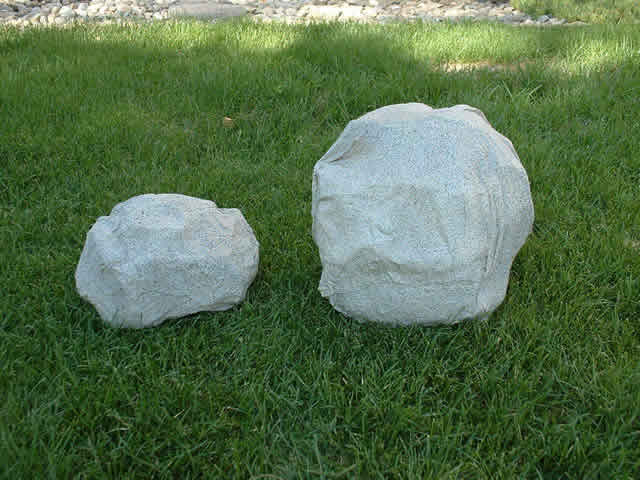
The next 3 pics
are of 2 geocaches that have an expando foam core. The skin
was made with muslin strips and plaster of Paris instead of
fiberglass mesh and resin. Not sure how long the plaster of
Paris skin will hold up in the weather, but will find out. |
Geo-Hacking
Building
your own geocache is certainly fun, however, there are plenty
of commercially available products online that can be turned
into a geocache. Here are a few items I have found that would
make excellent geocaches: |
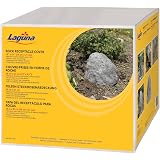 |
This
simulated-rock is intended to cover outlets and other unsightly
boxes in your garden. Made of polyresin, it can be modified
as you see fit to further customize your geocache. You can further
help blend the rock into the surroundings by scuffing it with
moss, or using some speckle-paint or other paint patterns. |
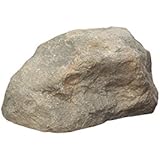 |
Here
is another example of a faux-rock intended for garden and
landscape use that can easily be adapted into your own cleverly-designed
geocache. |
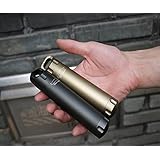 |
Of
course, not all of you geocaches need to look like fake rocks.
These waterproof survival capsules
make perfect geocaches that can be hidden anywhere. The eyelet
on the capsule lid makes it the ideal candidate to hang from
a tree, and its slender profile is good for easy concealment
in most surroundings. |
DISCLOSURE:
Aspenweaver is a participant in the Amazon Services LLC Associates
Program, an affiliate advertising program designed to provide a
means for sites to earn advertising fees by advertising and linking
to amazon.com.
|